Showing posts with label halloween. Show all posts

Friday, November 15, 2013

Halloween Nails

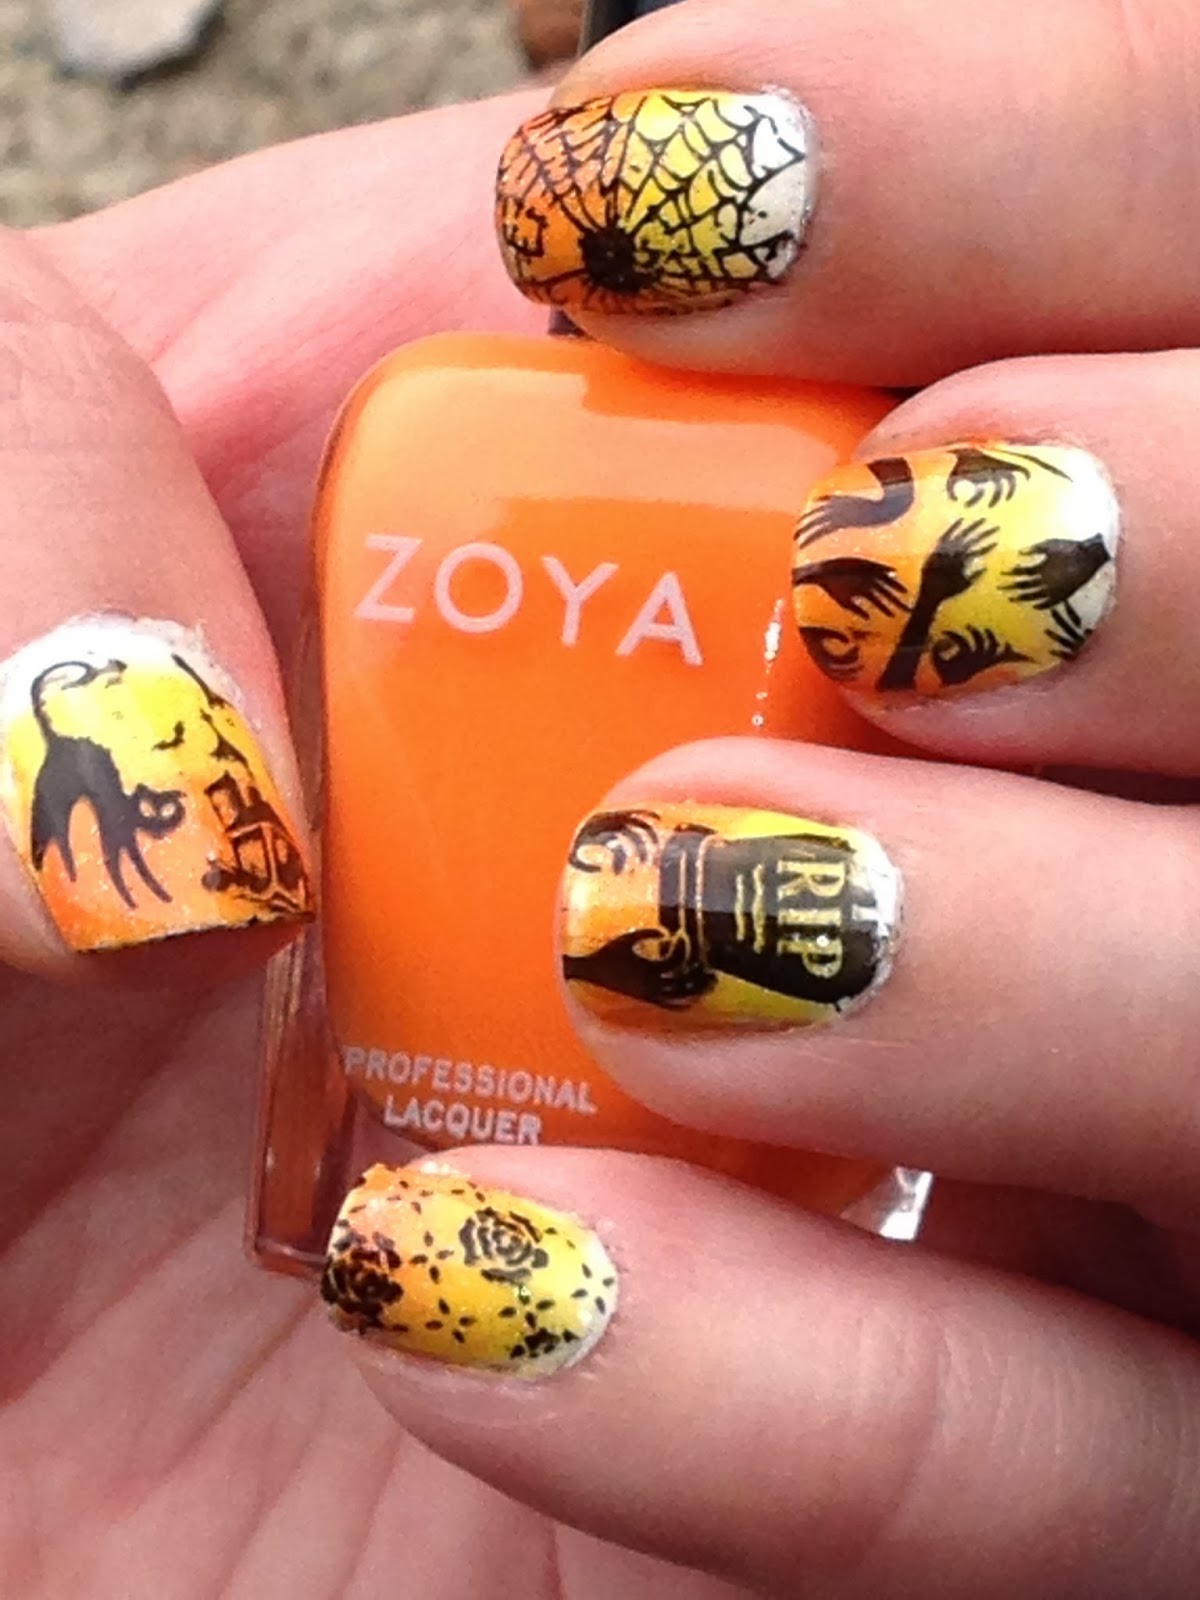
October was not the best month for me for many reasons but I just realized I never posted my Halloween manicures here except for one. So here is just a quick post on some of the nail art I ended up doing in October.

Inspired by a post seen in Adventures in Stamping

Inspired by a pin on Pinterest


Inspired by Pinterest


Monday, October 28, 2013

Monday's Nail Art for Short Nails


Lately more often than I would normally like I have been rocking some nubbin nails but they have really started to grow on me. A friend pointed me in the direction of an awesome collaboration of bloggers that every Monday create a post dedicated for the nubby challenged nails which is perfect to get me more comfortable with my new length. For this mani I decided to keep it pretty simple but I think the simplicity adds to the dramatic effect.

I started off with two coats of Loreal She's So Matte and then stamped using Color Club Twiggie and Cult Nails Tempest over it. I used the Bundle Monster Holiday set to create some zombie nails perfect for Halloween and the Walking Dead episode last night but mostly perfect for me because I LOOOOOVVVEEEE zombies!!! For the accent nail I put on Tempest and Twiggie and the same time and just carefully scraped. It's almost impossible not to get the colors to mix a little but either way I still love the haunting effect of the green zombie flesh over a matte black.


If anyone wants to participate in this just grab the gallery code here :) http://goo.gl/8hccTy


Thursday, September 26, 2013

NOTD Pinterest Inspired

I am so excited for Fall and Halloween that I just couldn't wait til October to release the monsters! My friends and I were looking through Pinterest the other night and I saw this one and knew I just had to try it out for myself. For my base I used China Glaze Def Defying and then acrylic paint for the details. I then added a matte top coat which I loved even more. It gave it almost a comic book type effect. Definitely going to be trying some more manis from pinterest soon. I have never really browsed there that much but there are so many amazing nails out there so it's going to be fun!


Thursday, October 4, 2012

Halloween Serial Killer Nail Tutorial

Halloween is my absolute favorite holiday of the entire year. Fall is finally here, the weather is not trying to melt my flesh, and there is a new scary movie out in the theater every single week! Plus costumes and candy! This nail tutorial is inspired by Halloween, my favorite serial killer that is finally back for a new season Dexter, and this awesome nail design by my friend Samantha that can be found here.

First you are going to paint your nails with two coats of a white polish. I chose to use Essie Blanc. Then you are going to to want to top coat this so that when you add red they don't bleed together to turn into an awful strawberry milk color. Don't really worry too much about cleanup because it is about to get really messy!


Next you are going to add blood spatter! There are lots of different methods and tutorials but this is just how I do it. Take your bottle of polish, for this I used Zoya Rekha, remove the cap and put it to the side. Now you are going to take a drinking straw and dip it right into the bottle of polish. You do not need to stick the straw all the way to the bottom just stick it in far enough for the tip of the straw to become covered. Quickly aim the straw at your finger and blow through the straw with one big breath. As as much or as little "blood spatter" as you like. This can get very messy so clean up your skin and around your cuticles as you let the spatter dry before you add top coat for the next step.


Now you could stop here or continue on to the next step to take the creepy up to another level. I thought it would be cool to have a little note on my nails in the classic serial killer type ransom letter style with cut out letters from a magazine. For this you will need to work one nail at a time. Add a layer of top coat to your nail and then add your letter clipping to your nail and position it. If it keeps peeling up push it down and hold it in place for a few seconds. Also as the top coat dries it will be easier to push it into the topcoat and make it stick. Once you have it successfully pushed down add another layer of topcoat to seal it all in. You should end up with something creepy like this!