
Showing posts with label nail art. Show all posts
Showing posts with label nail art. Show all posts
Tuesday, November 26, 2013
Twin Mani
My friend Linda at Linda's Polish Emporium and I decided we wanted to do a matching twin mani so we started searching Pinterest for something cute and simple that we could do quickly and we found a cute mani a lot like the recreation you see here. For the ring and index finger I used a base of Bondi Lady Liberty stamped using Cult Nails Fetish and Shany plate 214. For the middle finger I used A England Dorian Gray topped with two coats of China Glaze Fairy Dust. My pinky I orginally wanted to do matte so I used Cult Nails Fetish but I ended up going for an overall glossy look so I topped it with a coat of Seche Vite.


Friday, November 15, 2013
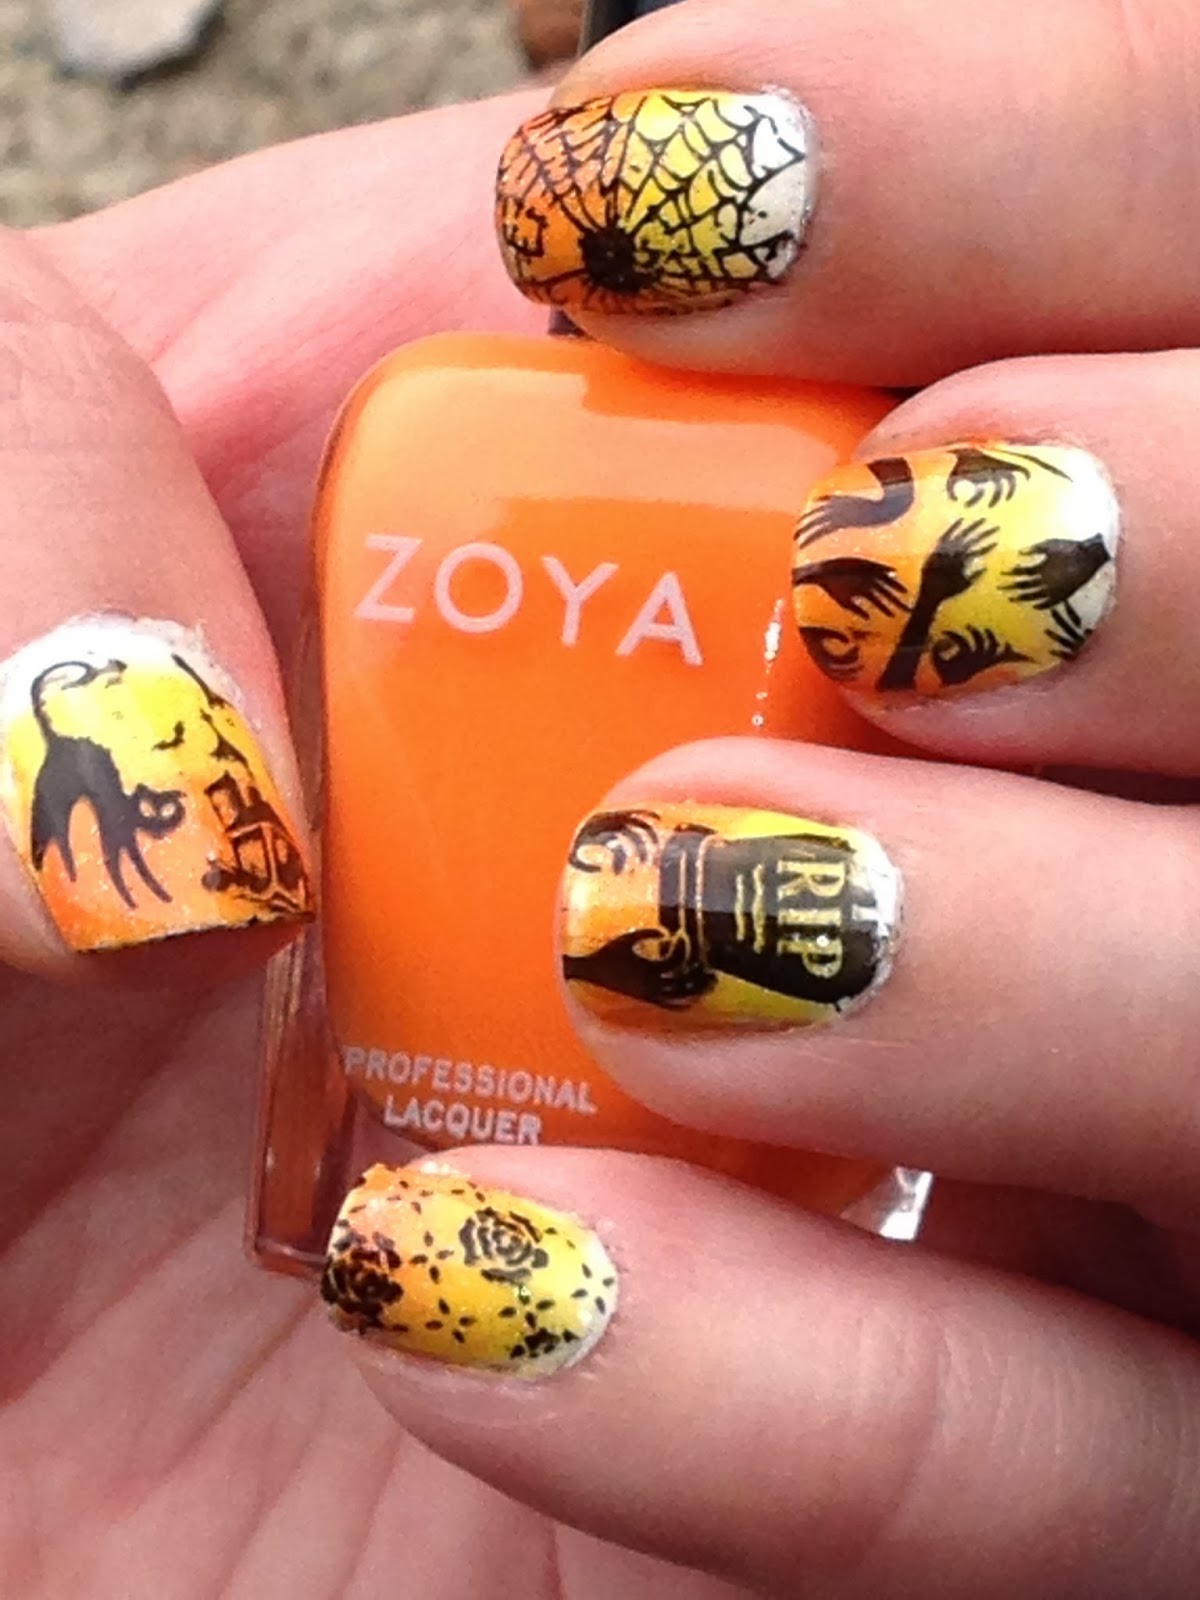
Halloween Nails
October was not the best month for me for many reasons but I just realized I never posted my Halloween manicures here except for one. So here is just a quick post on some of the nail art I ended up doing in October.


 |
| Inspired by a post seen in Adventures in Stamping |
 |
| Inspired by a pin on Pinterest |


 |
| Inspired by Pinterest |

Thursday, November 7, 2013
Nail Art Challenge - Glitter
For this first challenge I decided to go with Liquid Lacquer Blue Pistachio. I used to coats of this and then created stamping decals. For the birds I used Bundle Monster plate 401 and acrylic paints. I top coated everything with a layer of seche vite.


Thursday, October 10, 2013

Friday, August 9, 2013
NOTD Stamping with Zoya Sunshine
So another obsession I have had lately besides texture polishes is stamping over texture polishes. For this look I started with a base of Zoya Sunshine and decided to go for a romantic scene so I used Sinful Shine Wisp to stamp cherry blossom branches and a cute little couple under a tree onto my nails. The branches and flower are from a Born Pretty Store plate and the accent finger of the tree and little boy and girl kissing is from Winstonia. The pink blossoms of the flower are Zoya Jolene.


Friday, July 26, 2013
NOTD Cult Nails Tempest & Stamping
I was just playing around with my new Cheeky jumbo plate Happy Nails and loved the way this stamp looked so I decided to use it on all of my nails. This is Mash stamping polish in black over Color Club Eternal Beauty with a layer of Seche Vite topcoat.


Saturday, December 15, 2012
Zoya Reagan and Lara Stamping
Lately I have been really obsessed with pictures of stamping that show two colors together that are so close to each other but contrast perfectly for an effect that is just stunning. I never had a clue how they came up with the combinations and hadn't yet tried it but then a combination finally hit me. I was organizing my polishes today and came across the Zoya Beach collection that was actually still in the plastic box it came in. Lara and Reagan were sitting right next to each other and I thought they would make the perfect first attempt at the effect I was wanting. I absolutely love how the combination turned out and can't wait to try out more color combinations now that I think I've got it.
For this I used two coats of Zoya Lara and then added a coat of Cult Nails Wicked Fast. I then stamped using Zoya Reagan and Cheeky plate CH6. Reagan was so easy to use for stamping and came out great on the first try. I finished it all off with a coat of Seche Vite and am just amazed. I really really love this combination!

For this I used two coats of Zoya Lara and then added a coat of Cult Nails Wicked Fast. I then stamped using Zoya Reagan and Cheeky plate CH6. Reagan was so easy to use for stamping and came out great on the first try. I finished it all off with a coat of Seche Vite and am just amazed. I really really love this combination!

Tuesday, December 4, 2012
Day 2 - Candy Canes

When I was little, well even now, my favorite type of candy cane were the blue raspberry ones. There is just something about a candy that turns your mouth bright blue so you can then turn to people and stick your tongue out at them while asking if it is blue :) So for candy canes I knew I wanted to do blue ones but then I started thinking about the multi-colored packs ant thought that would be really fun so for today's theme I have four different flavors/color combinations of candy canes. For all of the nails I used stamping using Cheeky plate CH11.
Polishes Used:
Blue Raspberry: Revlon Coastal Surf for base & Julep Eloise stamped
Grape: Sally Hansen Good to Grape base & Sally Hansen Insta-Dry Lively Lilac stamped
Peppermint: OPI Thanks So Muchness base & Sally Hansen Insta-Dri Whirlwind White stamped
Cinnamon: Wet n Wild Candy-licious base & Sally Hansen Insta-Dri Rapid Red stamped

 Loading InLinkz ...
Thursday, October 4, 2012
Halloween Serial Killer Nail Tutorial
Halloween is my absolute favorite holiday of the entire year. Fall is finally here, the weather is not trying to melt my flesh, and there is a new scary movie out in the theater every single week! Plus costumes and candy! This nail tutorial is inspired by Halloween, my favorite serial killer that is finally back for a new season Dexter, and this awesome nail design by my friend Samantha that can be found here.
First you are going to paint your nails with two coats of a white polish. I chose to use Essie Blanc. Then you are going to to want to top coat this so that when you add red they don't bleed together to turn into an awful strawberry milk color. Don't really worry too much about cleanup because it is about to get really messy!

Next you are going to add blood spatter! There are lots of different methods and tutorials but this is just how I do it. Take your bottle of polish, for this I used Zoya Rekha, remove the cap and put it to the side. Now you are going to take a drinking straw and dip it right into the bottle of polish. You do not need to stick the straw all the way to the bottom just stick it in far enough for the tip of the straw to become covered. Quickly aim the straw at your finger and blow through the straw with one big breath. As as much or as little "blood spatter" as you like. This can get very messy so clean up your skin and around your cuticles as you let the spatter dry before you add top coat for the next step.

Now you could stop here or continue on to the next step to take the creepy up to another level. I thought it would be cool to have a little note on my nails in the classic serial killer type ransom letter style with cut out letters from a magazine. For this you will need to work one nail at a time. Add a layer of top coat to your nail and then add your letter clipping to your nail and position it. If it keeps peeling up push it down and hold it in place for a few seconds. Also as the top coat dries it will be easier to push it into the topcoat and make it stick. Once you have it successfully pushed down add another layer of topcoat to seal it all in. You should end up with something creepy like this!

First you are going to paint your nails with two coats of a white polish. I chose to use Essie Blanc. Then you are going to to want to top coat this so that when you add red they don't bleed together to turn into an awful strawberry milk color. Don't really worry too much about cleanup because it is about to get really messy!

Next you are going to add blood spatter! There are lots of different methods and tutorials but this is just how I do it. Take your bottle of polish, for this I used Zoya Rekha, remove the cap and put it to the side. Now you are going to take a drinking straw and dip it right into the bottle of polish. You do not need to stick the straw all the way to the bottom just stick it in far enough for the tip of the straw to become covered. Quickly aim the straw at your finger and blow through the straw with one big breath. As as much or as little "blood spatter" as you like. This can get very messy so clean up your skin and around your cuticles as you let the spatter dry before you add top coat for the next step.

Now you could stop here or continue on to the next step to take the creepy up to another level. I thought it would be cool to have a little note on my nails in the classic serial killer type ransom letter style with cut out letters from a magazine. For this you will need to work one nail at a time. Add a layer of top coat to your nail and then add your letter clipping to your nail and position it. If it keeps peeling up push it down and hold it in place for a few seconds. Also as the top coat dries it will be easier to push it into the topcoat and make it stick. Once you have it successfully pushed down add another layer of topcoat to seal it all in. You should end up with something creepy like this!

Subscribe to:
Posts (Atom)